The exterior of a home takes the full force of every season, and the damage it accumulates rarely announces itself clearly. A crack in the mortar, a lifted piece of flashing, a gutter pulling away from the fascia — each one starts small and ends expensively. Yet most homeowners only look closely at the outside of their house when something has already failed visibly.
A systematic exterior inspection, done once or twice a year, changes that dynamic entirely. It turns reactive repairs into planned maintenance and gives you the information to prioritize spending before a $200 fix becomes a $2,000 one.
The Roof — What You Can See From the Ground
Most homeowners never get on their roof, and in many cases they shouldn’t. But a surprising amount of useful information is available from ground level with a pair of binoculars or a smartphone camera with a zoom lens.
Look for missing, curled, or buckling shingles — any of those conditions means the protective granule layer is compromised, and water intrusion becomes a real risk at the next heavy rain. Flat or low-slope roofs need different attention: look for bubbling or pooling areas along the membrane surface. On older homes with wood shakes, check for splits running along the grain rather than across it, which signals weathering rather than impact damage.
Flashing is the area most often overlooked. The metal strips sealing valleys, chimneys, skylights, and roof-to-wall transitions are where leaks most commonly originate. From the ground, look for visible lifting, rust streaking on the shingles below, or sections where the flashing appears to have separated from the surface it’s supposed to seal. When the damage looks more extensive than surface wear, roofers can safely assess whether repair or full replacement is the right call — a distinction that matters both for cost and for how long the fix will hold.
- Check shingle condition with binoculars from at least two angles, ideally from opposite sides of the property, to catch both south-facing UV wear and north-facing moss growth.
- Look for granule accumulation in the gutters directly below each roof section — heavy granule loss on a particular slope often means that area is within 2-3 years of needing replacement.
- Flag any chimney caps or vent covers that appear cracked or missing, as these are direct water entry points regardless of how sound the shingles are.
Gutters, Downspouts, and Water Management
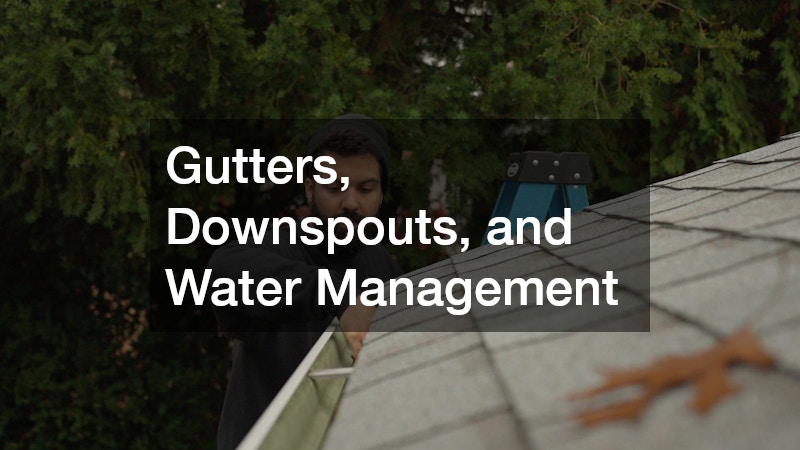
The gutter system is the most maintenance-intensive part of the exterior, and also the one most directly connected to expensive interior damage. A clogged or misaligned gutter doesn’t just overflow — it sends water against the fascia board, behind the siding, and eventually into the wall cavity or foundation.
Inspect gutters for visible sagging between hangers, which means the hanger spacing has failed or the fasteners have pulled out from the fascia. Gutters should maintain a consistent slope of roughly 1/4 inch of drop per 10 feet toward the downspout; a visually flat or reverse-sloping run is a clear sign of settling or hanger failure.
Downspout extensions are frequently missing or too short. The standard recommendation from building professionals is that downspouts should discharge water at least 6 feet from the foundation wall. On homes where the grade slopes toward the foundation rather than away from it, even a 6-foot extension may be insufficient.
The repair-versus-replace decision for gutters is worth thinking through carefully. Aluminum seamless gutters, which are the dominant residential standard, can typically be re-hung and re-sloped for under $150 in most markets if the gutter body itself is intact. Once corrosion has compromised the seams or the fascia board behind them has rotted, full replacement — running $4 to $8 per linear foot installed — becomes the practical option. Patch repairs on corroded aluminum seams rarely last more than one or two freeze-thaw cycles.
Siding, Trim, and Exterior Paint
Siding fails gradually, and the failure pattern tells you a great deal about the cause. Horizontal bands of discoloration or staining often point to moisture migrating from inside the wall, not outside. Vertical streaking, by contrast, usually comes from water running off a surface above — a poorly caulked window, a damaged drip cap, or an overflowing gutter.
Wood siding and trim need to be pressed firmly with a screwdriver at the corners, base, and any area showing paint bubbling. Sound wood resists; soft or spongy wood has begun to rot and needs replacement, not just repainting. Painting over soft wood accelerates the damage by trapping moisture rather than excluding it.
Fiber cement siding, now standard in many new builds, is more moisture-resistant but not immune — inspect the bottom edges of each board where they terminate. Improper installation that leaves the bottom edge unsealed allows water wicking over years, eventually causing the boards to swell and the paint to peel from the bottom up.
For trim specifically: caulk is the first line of defense at every joint, and caulk has a functional lifespan of 5 to 10 years depending on the product and the amount of movement in the joint. Pulling away, cracking, or shrinking caulk around window and door frames is one of the most cost-effective fixes available — a $6 tube of paintable exterior caulk and 30 minutes of prep can prevent hundreds of dollars in interior water damage.
Foundation, Grading, and the First Few Feet
The foundation inspection starts not at the concrete, but at the soil immediately around it. Grading that has settled flat or pitched toward the house over years is one of the leading contributors to basement water intrusion, and it’s a problem that compounds quietly over time. The standard expectation is a 6-inch drop over the first 10 feet away from the foundation — less than that, and surface water moves toward the house rather than away from it.
At the foundation itself, distinguish between cosmetic cracks and structural ones. Hairline cracks running vertically in poured concrete are common as concrete cures and are generally stable. Horizontal cracks in block or poured walls deserve professional evaluation — they can indicate lateral soil pressure. Stair-step cracking in block foundations, or diagonal cracks running from window or door corners, often signals differential settling and warrants attention before the pattern widens.
- Check the soil level against any wood components — siding, door frames, rim joists — and ensure there is at least 6 inches of clearance between soil contact and any wood surface.
- Look for efflorescence (white mineral deposits) on foundation surfaces, which confirms that water is moving through the wall even if the interior currently appears dry.
- Inspect window wells on below-grade windows for accumulated debris and verify that each well has functional drainage; a clogged well can hold enough water to push through a window frame.
Windows, Doors, and Caulk Lines

Windows and exterior doors are the most interaction-heavy part of the exterior, and that use shows. Inspect the caulk line at every window frame — top, sides, and bottom — looking specifically for gaps where the caulk has pulled away from the siding or the frame itself. The bottom sill is the spot most often skipped during routine maintenance and the one most exposed to water pooling.
Check the condition of weep holes on vinyl and aluminum window frames. These small openings along the bottom of the frame allow water that enters the track to drain out. When caulked over — something that happens during well-intentioned but uninformed repaint jobs — they trap water inside the frame assembly, which accelerates frame deterioration.
For doors, the threshold seal is the critical point. A threshold that has compressed, cracked, or separated from the door bottom creates a direct path for water, air, and pests. Replacement thresholds for standard 36-inch exterior doors run $25 to $60 depending on material, and the installation takes under an hour in most cases.
The DIY versus professional distinction matters here. Caulking and threshold replacement are reasonable DIY tasks with low risk of error. Identifying why a door frame has begun to rack — which might reflect foundation movement, framing deterioration, or simply seasonal wood movement — requires more careful diagnosis before any repair is made.
Building a Year-Round Inspection Habit
A twice-yearly rhythm works for most climates: once in the spring after the freeze-thaw cycle has done its work, and once in the fall before temperatures drop again. Spring inspections tend to surface the accumulated damage from winter — lifted flashing, frost-heaved grading, paint failure on north-facing surfaces. Fall inspections allow time to address anything before it faces another season of stress.
The practical tool for both is a simple written checklist that maps the same circuit each time — roof, gutters, siding, foundation, windows, doors — so nothing gets skipped because it’s inconvenient to access. Photographs dated by year are genuinely useful: a crack that hasn’t grown in three years tells a different story than one that has widened measurably since last fall.
Budget expectations matter too. Exterior maintenance on a typical single-family home runs $500 to $1,500 per year on average when kept current, according to general contractor industry data. Deferred maintenance compresses those costs into larger, less predictable repairs — often at the worst time, when weather or contractor availability makes the job more expensive than it would have been at a planned interval.
Where to Start If You’re Looking at a Long List
After a thorough inspection, it’s common to end up with more items than the current budget can handle at once. Prioritize by risk first: anything involving active water intrusion, compromised structural elements, or direct soil contact with wood needs to move ahead of cosmetic issues regardless of cost. A soft fascia board or a cracked foundation seal will worsen through the next season; faded paint will not.
Work through the list systematically, document each repair with dated photos, and revisit the full circuit in six months to confirm that addressed issues remain stable. The goal is not a perfect exterior — it’s a predictable one, where you know what’s been fixed, what’s being monitored, and what’s coming next.