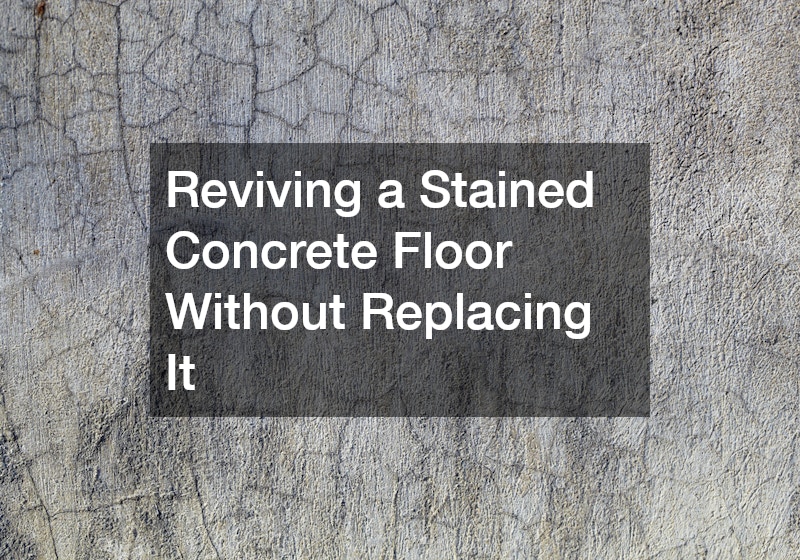
A dull, stained, or cracked concrete floor can make an entire garage, basement, or patio feel neglected, even if the rest of your home is in great shape. The good news is that a full tear-out and replacement is rarely necessary, since most concrete surfaces can be cleaned, repaired, and resurfaced for a fraction of the cost. Whether the damage comes from years of oil drips, hard water, or old age, there are proven ways to bring that slab back to life. This guide walks through the most common causes of concrete staining and the practical steps homeowners can take to restore their floors without starting from scratch.
Identify What Caused the Staining Before You Treat It

Not all concrete stains are created equal, and treating the wrong type the wrong way can make the discoloration worse or push it deeper into the pores of the slab. Oil and grease stains sit differently than mineral deposits from irrigation systems or rust marks left behind by patio furniture. Before buying any cleaning product, take a few minutes to figure out the source, since that determines whether you need a degreaser, an acid-based cleaner, or a simple enzyme treatment.
Outdoor slabs often pick up organic staining from leaves, sap, or algae, especially in shaded yards where landscape contractors have planted trees or dense shrubs close to the patio. Indoor floors, on the other hand, usually suffer from vehicle fluids, paint splatter, or efflorescence caused by moisture pushing salts to the surface. Knowing which category your stain falls into will save you time and prevent unnecessary damage during cleaning.
- Dark, greasy patches usually indicate oil or automotive fluids
- Orange or brown spots often point to rust from metal furniture or tools
- White, chalky patches suggest efflorescence from trapped moisture
- Green or black splotches typically mean algae, mildew, or organic growth
Clean the Surface Thoroughly Before Any Repair Work
A deep clean is the foundation of any successful concrete restoration project, and skipping this step will undermine everything that follows. Start with a stiff-bristle broom to remove loose debris, then move to a pressure washer for outdoor slabs or a degreasing solution for garage and basement floors. Concrete is porous, so allow ample drying time, typically 24 to 48 hours, before assessing what stains remain.
For stubborn or older stains, a poultice made from baking soda and water can pull embedded oil out of the concrete over a day or two. Homeowners dealing with water intrusion issues, especially in basements, may want to consult with water damage companies first to confirm there isn’t an ongoing moisture problem feeding the staining. Treating the surface without addressing a hidden leak often means the stain will simply return within a few months.
Fill Cracks and Chips Before Applying Any Finish
Hairline cracks and small chips are common in concrete that has settled or endured years of temperature swings, and they need to be addressed before any coating goes down. Applying a resurfacing product over unrepaired cracks almost guarantees the damage will telegraph through the new finish within a season. Concrete patch compounds, available at most hardware stores, work well for cracks under a quarter inch wide.
Larger cracks or slabs with noticeable height differences between sections may indicate settling issues that go beyond a cosmetic fix. In these cases, it’s worth having a foundation specialist take a look before investing in resurfacing, since a floor that continues to shift will crack again regardless of how well it was patched. Addressing the structural cause first protects whatever finish you choose afterward.
- Use a wire brush to remove loose debris from inside the crack
- Fill in thin layers rather than one thick pour to prevent shrinkage
- Smooth the patch level with the surrounding surface using a trowel
- Allow full cure time, often 24 hours or more, before adding any coating
Consider an Epoxy Coating for Long-Term Durability
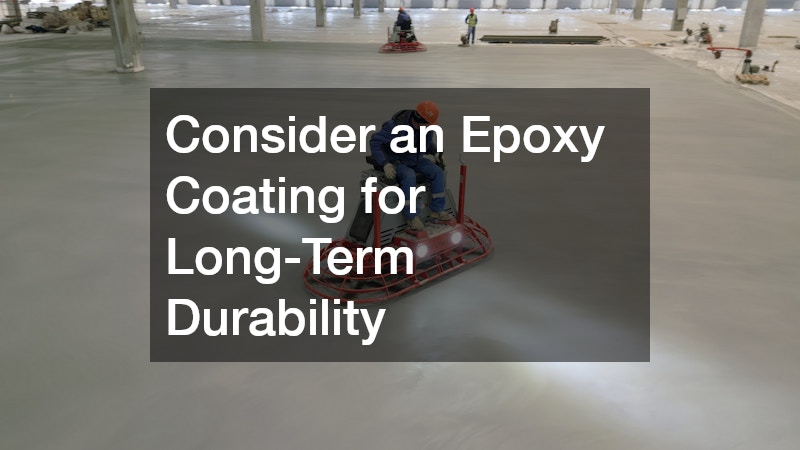
Once the surface is clean and repaired, many homeowners find that an epoxy concrete floor coating offers the best combination of durability and appearance for garages, basements, and workshop spaces. Epoxy bonds directly to properly prepped concrete and creates a hard, chemical-resistant layer that resists future oil stains, tire marks, and scuffing. It also comes in a wide range of colors and finishes, including flake systems that mimic a terrazzo look.
The key to a successful epoxy application is surface preparation, since epoxy will not adhere well to concrete that still has grease residue or excess moisture trapped inside. Most products require the slab to be etched with an acid solution or mechanically ground before the coating is rolled on. Homeowners who are not comfortable with this level of prep work often hire it out, since a poorly prepared surface is the number one reason epoxy coatings peel or bubble within the first year.
- Choose a two-part epoxy for garages that see heavy vehicle traffic
- Add anti-slip additives for basement stairs or exterior applications
- Plan for at least 24 to 72 hours of cure time before walking on the floor
- Avoid rolling epoxy over cracks or stains that have not been treated first
Try Acid Staining or Dye for a Decorative Refresh
If the goal is more about updating the look of the floor than covering damage, acid staining or concrete dye can transform a plain gray slab into something that resembles natural stone or leather. Acid stains react chemically with the minerals in the concrete, producing mottled, variegated tones that are unique to every floor. Dyes, by contrast, sit on the surface and offer more predictable, consistent coloring in a broader range of shades.
Both options work best on floors that are structurally sound but cosmetically tired, since neither product fills cracks or hides major surface imperfections. A sealer is typically applied afterward to protect the color and add a bit of sheen, whether matte, satin, or high gloss. This approach tends to cost less than a full epoxy system and suits homeowners who want an updated look without heavy-duty chemical resistance.
- Test acid stain on a small, hidden area first since results vary by slab
- Water-based dyes are easier to apply for DIYers than solvent-based versions
- Seal the floor within a day of staining to lock in color and prevent fading
- Reapply sealer every two to three years to maintain the finish
Address Moisture Issues That Cause Recurring Stains
Concrete floors in basements and crawl spaces are especially prone to recurring staining when moisture is wicking up through the slab from below. This shows up as persistent dampness, a musty smell, or the white powdery residue known as efflorescence. Ignoring this issue and simply reapplying a coating or stain will lead to peeling, bubbling, or discoloration returning within months.
If moisture is a consistent problem, it often points to a grading issue outside the home, a failing vapor barrier, or a plumbing leak beneath the slab. A licensed plumbing company can run a inspection to rule out a broken pipe as the source, which is a common but often overlooked cause of basement floor staining. Solving the moisture problem before doing any cosmetic work is the only way to guarantee the results actually last.
- Check for damp patches after rainfall to identify grading problems
- Look for efflorescence, a white chalky residue, as a sign of moisture wicking
- Test humidity levels in enclosed spaces with an inexpensive hygrometer
- Rule out plumbing leaks before assuming the issue is purely cosmetic
Improve Drainage Around Outdoor Concrete Surfaces

Patios, walkways, and pool decks are exposed to the elements year-round, which makes drainage a major factor in how quickly stains and cracks reappear after a repair. Standing water that pools on a slab after every rain will eventually seep into hairline cracks, freeze in colder climates, and widen them over time. Regrading the soil around the perimeter or adding a French drain can redirect water away from the concrete and extend the life of any refinishing work.
For homeowners with a swimming pool, deck staining is often made worse by splashed water carrying chlorine and minerals that etch the surface over time. Working with a pool company to adjust water chemistry or install better deck drainage can significantly reduce future staining around the pool area. Combining this kind of prevention with a fresh concrete sealant gives outdoor surfaces a much longer window before they need attention again.
- Slope soil and mulch beds away from patios and walkways
- Clean gutters regularly so runoff doesn’t pool near the foundation
- Consider a French drain for consistently soggy areas near the slab
- Reseal pool decks annually in climates with heavy freeze-thaw cycles
Protect Concrete From Nearby Structural and Exterior Work
Concrete floors and slabs don’t exist in isolation, and work happening elsewhere on the property can directly affect their condition. Falling debris from an aging roof, for instance, can stain or chip a concrete walkway below, which is one more reason to keep gutters clear and have roofing companies address damaged shingles before they shed grit onto surfaces below. Similarly, exterior renovations like updated siding can kick up dust and debris that settles into freshly cleaned concrete if timing isn’t coordinated carefully.
Homeowners planning multiple exterior projects should sequence the work thoughtfully, tackling messier jobs first. If siding companies are scheduled to replace panels, it makes sense to finish that work before investing time in resurfacing a nearby patio or walkway. This kind of planning prevents having to redo cosmetic concrete work that gets damaged or dirtied by unrelated construction.
- Schedule concrete resurfacing after major exterior renovations, not before
- Cover finished concrete with tarps during nearby construction
- Clean gutters and downspouts to prevent runoff staining below rooflines
- Coordinate timelines when multiple contractors are working on the property
Recognize When Nearby Trees or Landscaping Threaten the Slab

Tree roots are one of the most underappreciated causes of concrete damage, since roots seeking moisture will grow directly beneath a slab and cause it to heave, crack, or settle unevenly. If a floor or patio near mature trees keeps developing new cracks no matter how many times it’s patched, the root system may be the real culprit. In more severe cases, arranging tree removal or root barrier installation may be the only permanent fix.
Falling leaves, sap, and berries from overhanging branches also contribute to organic staining that returns again and again despite regular cleaning. Trimming back branches that hang over patios or driveways reduces this buildup significantly and makes maintenance easier going forward. Addressing the landscaping issue alongside the concrete repair ensures the fix actually holds instead of becoming a recurring chore.
- Watch for cracks that radiate from one direction, often a sign of root pressure
- Trim overhanging branches to reduce sap and leaf staining
- Consider root barriers for trees planted close to slabs or foundations
- Consult a professional before removing large trees near structural concrete
Know When a Full Slab Replacement Is Actually Necessary
While most concrete floors can be revived with cleaning, patching, and a new finish, there are situations where replacement genuinely makes more sense. Severe structural cracking, large sections that have sunk or heaved, or a slab that was poured incorrectly to begin with are all signs that resurfacing won’t hold. In these cases, throwing money at cosmetic fixes only delays the inevitable and wastes the cost of materials.
It’s also worth noting that concrete work sometimes overlaps with other home systems worth checking during a larger renovation, such as garage door installations if the slab beneath the track has shifted, or even a furnace repair if ductwork runs beneath a basement floor that’s being torn out. Coordinating these projects together can save money and prevent having to disturb a newly finished floor later. A qualified contractor can assess whether the slab is a candidate for restoration or truly needs to come out.
- Multiple large cracks running through the slab in different directions
- Visible sinking or heaving of more than an inch in any section
- Persistent moisture problems that resurfacing hasn’t resolved
- A slab poured without proper reinforcement or base preparation
Reviving a stained concrete floor is almost always achievable with the right combination of cleaning, repair, and finishing, and full replacement should be a last resort rather than a first instinct. Start by identifying the source of the staining, address any underlying moisture or structural issues, and then choose a finish, whether epoxy, stain, or dye, that matches how the space is used. Taking these steps in order will save money and produce results that actually last for years rather than months. With a bit of research and the right approach, most homeowners can restore their concrete floors without ever picking up a jackhammer.