
Key Takeaways
- Budget roughly one percent of your property’s value each year for upkeep to avoid being blindsided by surprise repair bills
- Older houses built before 1980 carry significantly higher first-year repair risks than newer construction, so inspect critical systems early
- Schedule HVAC servicing on a seasonal rhythm, with heat pumps and split systems needing attention twice a year
- Replace smoke and carbon monoxide detectors every decade, regardless of whether they still appear to work
- Break big tasks into four seasonal chunks so nothing piles up or gets forgotten during busy months
- Keep a written log of every repair, inspection, and appliance purchase to track warranties and spot patterns
- Learn your main water shutoff, electrical panel, and gas valve locations before an emergency forces you to find them
Getting the keys to your first house is thrilling. Then reality shows up about three weeks later, usually in the form of a strange noise from the basement, a dripping faucet, or a utility bill twice what you expected. Nobody hands you a manual for the building you just bought, and the previous owners rarely leave helpful notes.
The learning curve is steep because a house is really a collection of systems: plumbing, electrical, HVAC, roofing, drainage, and dozens of smaller moving parts. Each one has its own quirks and its own schedule. Miss a service window and small problems can snowball into expensive ones.
The good news is that staying on top of a house doesn’t require specialized knowledge. It requires a plan. If you break the year into seasons and tackle a short list of tasks during each one, you’ll head off most of the disasters that catch first-time owners off guard.
Budgeting for Repairs Before They Catch You Off Guard
One of the biggest shocks for new buyers is how fast ownership costs pile up outside the mortgage. According to Homes.com, maintenance costs that first-time buyers routinely underestimate tend to equal about one percent of a home’s value annually, which works out to roughly $333 a month on a $400,000 property. That figure isn’t theoretical. It covers everything from furnace filters to a surprise water heater replacement.
The age of your house matters enormously here. According to Pearl SCORE, buyers of houses built before 1980 can face up to $3,200 in unexpected repair costs during year one, which is four times what owners of newer builds typically deal with. Older systems, outdated wiring, and aging plumbing all contribute to that gap.
How to Set Up a Simple Repair Fund
Open a separate savings account dedicated to the house. Automate a monthly transfer equal to one percent of your purchase price divided by twelve. When something breaks, the money is already sitting there, and you won’t have to decide between fixing the roof and paying off the credit card. Treat this account like an insurance policy you write for yourself.
Spring Tasks That Protect the Exterior

Spring is the best time to assess what winter did to your house. Freeze-thaw cycles, ice dams, heavy snow loads, and months of wind-driven moisture all leave evidence, and catching damage early keeps small cracks from becoming structural issues down the road. Walk the perimeter slowly on a dry, sunny day and look up at the roof, down at the foundation, and everywhere in between. Bring a notebook or your phone and photograph anything questionable so you can track whether it gets worse over the next few weeks. Many issues that look alarming on first inspection are actually old and stable, while others that seem minor can progress quickly once warmer, wetter weather settles in.
Pay special attention to anything that moves water away from the building. Gutters, downspouts, grading, splash blocks, and subsurface drainage all work together as one system, and a failure in one spot often means water pooling somewhere it shouldn’t — against the siding, under a deck, or worst of all, seeping into the basement or crawlspace. Stand at each downspout during the next rainstorm and watch where the water actually goes. If it puddles within six feet of the foundation, you have a drainage problem worth solving before summer thunderstorms arrive.
- Clear gutters and downspouts of leaves, twigs, shingle grit, and any seedlings that have sprouted in the debris
- Inspect the roof from the ground with binoculars for missing, curled, cracked, or lifted shingles, and note any exposed nail heads
- Check exterior caulking around windows, doors, trim, and penetrations like dryer vents or hose bibs, and re-caulk anywhere it has pulled away
- Look for cracks in the foundation and seal small hairline cracks with masonry caulk, while flagging anything wider than a quarter inch for a professional opinion
- Test outdoor faucets for freeze damage by turning them on full and having someone inside listen for leaks behind the wall
- Trim tree branches that hang within six feet of the roof so they can’t scrape shingles, drop debris into valleys, or give squirrels an easy bridge
- Inspect siding, soffits, and fascia for soft spots, peeling paint, or signs of woodpecker or insect activity
- Rinse winter salt and road grime off lower siding, railings, and the garage door, since residual salt accelerates corrosion and paint failure
Spring is also when your lawn and garden systems wake up. If you have an irrigation system, run a full test before you actually need it — one zone at a time, watching each head rotate through its full pattern. A broken sprinkler head in April is a minor annoyance you can fix with a ten-dollar part and fifteen minutes. The same break in July, discovered only when a brown patch of grass dies, is a much bigger headache that often involves re-sodding and guessing at how long the leak has been quietly undermining nearby soil. The same principle applies to hoses, spigots, rain barrels, and any landscape lighting — test everything now, while the stakes are low and replacement parts are easy to find at any hardware store.
These exterior-focused home maintenance tips for new homeowners are the foundation of a proactive routine, and getting into the habit of a thorough spring walk-around is one of the single most valuable home maintenance skills you can build in your first year of ownership.
Summer Is for HVAC, Appliances, and Deep Cleaning
Summer heat puts enormous strain on cooling systems, which is why this season is when breakdowns spike. Preventive service pays for itself many times over. According to ServiceTitan, a typical HVAC tune-up runs around $275, and most systems need professional attention at least once a year, with split systems and heat pumps benefiting from twice-annual visits. Compared to the cost of a compressor replacement, that tune-up is a bargain.
Beyond the air conditioner, summer is a natural window for appliance care. Pull the refrigerator out and vacuum the coils. Clean the dryer vent all the way to the exterior cap. Check your washing machine hoses for bulges or cracks, since a burst hose can flood a laundry room in minutes.
Easy Weekend Projects That Pay Off Later
Pick one Saturday a month for a two-hour maintenance block. Test every GFCI outlet by pressing the test and reset buttons. Flush your water heater to remove sediment, which improves efficiency and extends the tank’s lifespan. Lubricate garage door hinges and rollers with a silicone spray. These small habits form the backbone of effective home maintenance and keep the expensive stuff running longer.
Fall Preparation That Prevents Winter Disasters
Fall is arguably the most important season for upkeep because what you do now determines how your house survives the coldest months. A frozen pipe or a failed furnace in January is a crisis. The same issue addressed in October is just a chore.
Among the most practical home maintenance tips for new homeowners is this one: start your fall checklist by the end of September, before the first cold snap. Waiting until November means competing with everyone else for contractor appointments and paying premium rates for emergency service.
- Schedule a furnace inspection and replace the filter
- Have the chimney swept if you use the fireplace
- Drain and disconnect exterior hoses to prevent pipe bursts
- Reverse ceiling fans to push warm air downward
- Reseal weather stripping around doors and windows
- Clean gutters again after leaves have fallen
Don’t skip the attic during fall prep. Check insulation levels and look for any signs of pests settling in for the winter. Rodents love warm attics, and a small entry point can become a serious infestation by February. While you’re up there, make sure bathroom and kitchen exhaust fans actually vent outside rather than dumping humid air into the attic space.
Winter Watchfulness Is About Watching and Listening
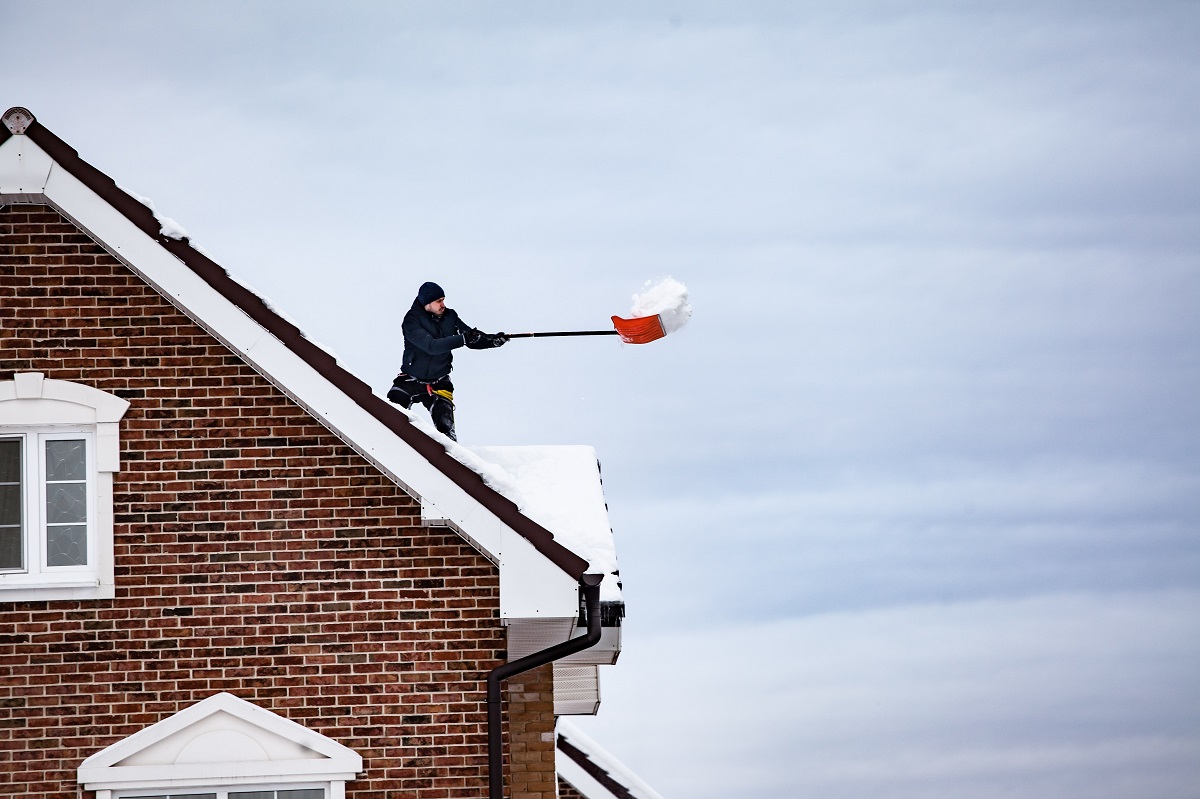
Winter is less about big projects and more about paying attention. Your house talks to you during cold weather, and learning to interpret the signals will save you serious money. A hissing sound near a window often means failing weather stripping that’s letting conditioned air escape and driving up your heating bill by a surprising amount. A furnace that cycles on and off every few minutes, a pattern technicians call short cycling, may have a clogged filter, a failing thermostat, an oversized unit, or a blocked flue. Ice building up along the roof edge usually points to attic insulation problems, not a roof defect, because warm air escaping into the attic melts snow that then refreezes at the colder eaves. Other winter signals worth noting include popping or banging sounds in the walls as framing contracts in extreme cold, a faint whistle at electrical outlets on exterior walls, or a sudden spike in your gas or electric bill that doesn’t match the weather. These are all part of the basic home maintenance tips for new homeowners that experienced owners wish they’d learned sooner.
Keep an eye on humidity levels inside. Dry winter air cracks wood floors, splits trim, dries out sinuses, aggravates eczema, and can even loosen the joints on wooden furniture and cabinetry. A simple hygrometer costs about fifteen dollars and tells you whether to run a humidifier. Aim for somewhere between 30 and 45 percent indoor humidity, lower when it’s bitterly cold outside to prevent condensation on windows. If you see persistent fog or frost forming on the inside of your window glass, that’s a sign your indoor humidity is too high for the outdoor temperature, and you risk mold growth around the frames or hidden moisture damage inside wall cavities. Bathroom exhaust fans should run during and for at least twenty minutes after every shower to pull that moisture out before it migrates elsewhere in the house.
- Keep interior doors open to promote even heat distribution
- Let faucets drip during deep freezes if pipes run along exterior walls
- Check the attic after heavy snowfall for signs of ice damming
- Test backup power sources like generators monthly
- Open cabinet doors under sinks on the coldest nights to let warm air reach the plumbing
- Clear snow away from furnace exhaust vents and dryer vents
- Replace furnace filters every one to three months depending on household traffic and pets
- Keep rock salt or a pet-safe ice melt stocked near every exterior door
- Inspect attic insulation depth and top it off if you can see the tops of the joists
This is also a smart time to review the log you’ve been keeping and plan bigger projects for warmer months. Winter evenings are perfect for pricing out contractors, gathering quotes before the busy spring rush drives prices up, and researching which home maintenance tasks you’ll tackle yourself versus hire out. Reading through a first-year home upkeep roadmap for new owners during a quiet January evening can help you map out which upgrades to prioritize when spring returns. Sketch out a rough budget for the year, flag which projects are urgent versus nice-to-have, and note the vendors you’d like to call in March so you’re not scrambling when the first warm weekend arrives.
Building a System for Tracking Everything
A house generates paperwork and data at a surprising clip. Warranties, receipts, paint colors, filter sizes, model numbers, contractor business cards, inspection reports. Lose track of any one of them and you’ll end up paying twice or buying the wrong replacement part. The owners who stay sane are the ones who build a tracking system in month one and stick with it.
The format matters less than the consistency. A three-ring binder with plastic sleeves works. So does a shared folder in Google Drive, a dedicated note-taking app, or even a spreadsheet. What matters is that every receipt, every service visit, and every appliance purchase ends up in the same place, labeled with dates.
What to Record Every Time Something Happens
- Date of the repair or service
- Who performed the work and their contact information
- What was done and what parts were replaced
- Total cost including labor and materials
- Warranty terms and expiration dates
- Any follow-up recommended by the technician
Over time this log becomes genuinely valuable. You’ll spot patterns, like a specific appliance that fails every two years, or realize that regular servicing on one system has saved you from the breakdowns plaguing your neighbors. It also pays off when you eventually sell, since documented care reassures buyers and inspectors. If you’re thinking ahead to bigger projects, understanding how proper maintenance simplifies major home renovations helps you see why these records matter well beyond the warranty period.
Know Your Shutoffs Before You Need Them
Every owner should be able to shut off water, gas, and electricity within sixty seconds of a problem starting. Burst pipes dump dozens of gallons a minute. Gas leaks are measured in seconds, not minutes. If you have to google the location of your main valve while water pours through the ceiling, the damage is already done.
Walk the house with a flashlight this week and physically touch each shutoff. The main water valve is usually near where the supply line enters the basement or crawl space. The gas shutoff sits next to the meter outside and requires a wrench, so hang one nearby. The electrical panel should have its breakers clearly labeled, and if they aren’t, spend an afternoon identifying what each one controls and writing it down.
Also know where your water heater’s shutoff is, where individual fixture valves hide under sinks and behind toilets, and how to kill power to the HVAC system if it starts acting strange. Share this information with everyone in the household. An emergency at two in the morning isn’t the time for one person to be the only one who knows what to do.
Final Thoughts
Owning a house for the first time is a long process of learning what matters and what doesn’t. The checklist feels overwhelming when you read it all at once, but spread across four seasons it becomes a manageable rhythm. Spring brings exterior inspections and drainage checks. Summer focuses on cooling systems and appliances. Fall gets the house ready for cold. Winter is for watchfulness and planning.
Nothing about keeping a house in good shape requires being handy or having deep technical skills. It requires showing up consistently, writing things down, and treating small issues before they grow. The owners who do this spend less money, sleep better, and enjoy their homes more than the ones who wait for problems to announce themselves.
Give yourself permission to learn as you go. You will make mistakes in year one. You will forget to drain a hose and crack a spigot, or ignore a strange noise until it becomes an expensive one. That’s fine. The goal isn’t perfection. The goal is building habits that compound over the decades you’ll spend in this house, turning what feels overwhelming today into something that eventually becomes second nature.