
A small crack in the foundation or a faint stain on the ceiling rarely feels like an emergency, so it gets pushed to the bottom of the to-do list. But structural problems behave differently than most home repairs: they compound quietly, and the cost of fixing them grows every month they are ignored. Understanding which issues worsen silently can help you catch damage while it is still manageable, save money, and protect your family’s safety.
This guide walks through the most common structural warning signs homeowners overlook and explains why early action matters.
Hairline Foundation Cracks and Shifting Soil
A thin crack in a basement wall or garage floor often looks cosmetic, but it can signal that soil beneath the foundation is expanding, contracting, or eroding. Clay-heavy soils swell when saturated and shrink dramatically during dry spells, and that constant movement puts uneven pressure on a foundation that was built to sit on stable ground. Even a crack as narrow as 1/16 of an inch can be the first visible sign of this underlying shift.
Once water finds its way into that crack, freeze-thaw cycles or hydrostatic pressure can widen it season after season. In colder climates, water that seeps in during a thaw can freeze overnight, expanding by roughly 9% and forcing the crack apart bit by bit. Horizontal cracks are especially worth watching, since they often point to soil pressing against the wall from outside rather than simple settling.
What starts as a hairline fracture can eventually allow moisture intrusion, uneven floors, or sticking doors and windows. Left unchecked long enough, it can also lead to bowing walls, gaps around window frames, or tile and drywall cracks on floors above. Monitoring crack width over a few months, or having a foundation specialist assess whether it’s active or stable, can help determine whether simple sealing will suffice or whether more extensive underpinning is needed.
Regular exterior maintenance plays a bigger role in foundation health than most people realize. Grime, mold, and algae buildup on siding and walkways can trap moisture against the foundation, so scheduling periodic power washing around the perimeter of your home helps water drain away instead of pooling near vulnerable concrete. Using a house washer for this task, rather than relying on a standard garden hose, ensures grime and algae are actually lifted away instead of just pushed around near the foundation line.
- Measure and photograph cracks monthly using a ruler or crack gauge, noting the date on each photo; a crack wider than 1/4 inch or growing more than 1/16 inch per month signals active movement worth a professional look
- Check for gaps forming around window and door frames, and note if doors start sticking or no longer latch properly, since this often means the frame has shifted out of square
- Watch for soil pulling away from the foundation after dry spells, especially gaps wider than an inch, and look for the opposite problem too—soil heaving upward after heavy rain, which can push against the foundation
- Look for musty odors in basements, a sign moisture is seeping through, and pair this with a visual check for efflorescence (white, chalky mineral deposits) on walls
- Note whether cracks run horizontal, vertical, or diagonal, as horizontal cracks often indicate more serious pressure from shifting soil than vertical ones
- Keep a simple log of recent weather patterns, since heavy rain followed by drought is a common trigger for soil expansion and contraction that stresses foundations
Roof Flashing and Slow Leaks Around Chimneys

Flashing is the thin metal barrier that seals the joint where a chimney meets the roofline, and it is one of the most common points of hidden water entry in a home. When flashing loosens or rusts, water can travel down into the attic and framing for months before a stain ever appears on an interior ceiling. By the time you notice discoloration, the wood underneath may already be soft or rotting.
A professional chimney inspection is the most reliable way to catch flashing problems early, since a trained eye can spot rust, gaps, or cracked sealant that homeowners often miss from the ground. Pairing that inspection with a look at attic insulation and roof decking gives a fuller picture of whether moisture has already started to spread.
- Schedule a chimney inspection annually, ideally before winter weather arrives
- Look for daylight gaps around the chimney base from inside the attic
- Check for peeling paint or bubbling drywall near the chimney chase
- Note any musty smell in rooms adjacent to the chimney
Creosote Buildup and Blocked Chimney Flues
Homes with wood-burning fireplaces face a structural risk that has nothing to do with concrete or framing: creosote accumulation inside the chimney flue. This tar-like substance builds up gradually with every fire, forming three stages of deposits ranging from a light, flaky soot to a hardened, glazed layer that’s difficult to remove. The longer it sits untouched, the more flammable it becomes, and even a quarter-inch of buildup is enough to fuel a dangerous chimney fire.
A blocked or narrowed flue also forces smoke and carbon monoxide back into the living space instead of venting properly outdoors. Beyond the immediate health hazard, trapped moisture and combustion byproducts can corrode the flue liner and deteriorate the surrounding masonry from the inside out. Cracks in a compromised liner allow heat to reach adjacent wood framing, turning a maintenance issue into a fire risk that extends well beyond the fireplace itself.
Chimneys used regularly should be inspected annually and swept whenever deposits exceed about 1/8 inch, according to National Fire Protection Association guidelines. Warning signs homeowners shouldn’t ignore include a persistent smoky odor even when the fireplace isn’t in use, dark oily residue near the firebox opening, or a damper that feels sticky from tar-like buildup. Left unaddressed year after year, what starts as a simple cleaning job can escalate into costly flue relining or full chimney rebuilding.
Creosote is a tar-like byproduct of burning wood that coats the inside of a chimney flue with every fire. Left alone, it hardens into a flammable crust that can ignite at high temperatures, sparking a chimney fire that spreads into the attic or roof before anyone notices. Beyond the fire risk, thick creosote buildup narrows the flue and blocks proper airflow, causing smoke and carbon monoxide to back up into the living space instead of venting outside.
A certified chimney sweeping service provider can remove this buildup before it becomes a fire hazard, using specialized brushes and vacuums that pull soot and debris out without spreading them through the house. Most experts recommend having the work done once a year for regularly used fireplaces, though households burning wood several times a week may need a second inspection midseason. A qualified chimney sweep will also check for cracked flue liners, damaged mortar, and animal nests that can obstruct airflow just as much as creosote does.
Booking a chimney sweeping service in late summer or early fall means you avoid the seasonal rush and have the fireplace ready before the first cold snap. Scheduling early also gives you time to handle any repairs a local chimney sweep services provider flags during inspection, rather than discovering a problem the night you need heat most.
- Have a certified chimney sweep evaluate flue buildup after roughly 50 uses or once a year, since creosote layers thicker than 1/8 inch are considered a fire hazard
- Watch for a strong smoky odor even when the fireplace is not in use, especially in humid weather when it tends to intensify
- Listen for unusual popping or crackling sounds during a fire, which can indicate excess creosote igniting inside the flue
- Avoid burning wet or unseasoned wood, which accelerates buildup; properly seasoned wood should be dried for at least six months and show a moisture content below 20%
- Check for dark, flaky, or tar-like residue near the firebox opening, a visible sign that a chimney sweep visit is overdue
- Schedule a chimney sweep immediately if you notice reduced draft or smoke backing up into the room, as this often signals a partial blockage
Gutter Neglect and Fascia Board Rot
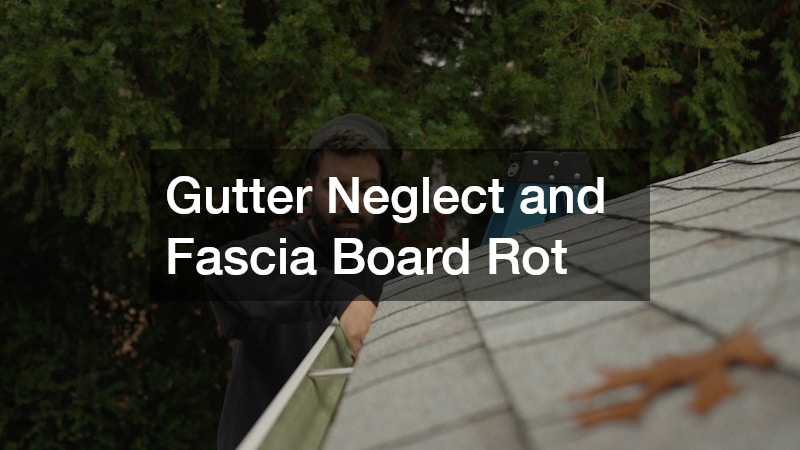
Clogged gutters seem like a minor seasonal chore, but the structural consequences run deeper than most homeowners expect. When water overflows repeatedly instead of draining through downspouts, it saturates the fascia boards and soffits that support the lower edge of the roof. Over time, that constant moisture exposure softens the wood, invites pests, and can eventually compromise the roofline’s structural connection to the house.
Trees dropping leaves and debris throughout the year make this an ongoing issue rather than a one-time fix. A simple habit of clearing gutters twice a year, in spring and fall, prevents the kind of slow rot that often goes unnoticed until fascia boards visibly sag or pull away from the house.
- Check gutters for standing water or sagging sections after heavy rain
- Look for peeling paint or dark streaks on fascia boards
- Trim overhanging branches that drop debris directly into gutters
- Install gutter guards if your property has heavy tree coverage
Basement Humidity and Wood Framing Decay
Basements and crawl spaces are often the least visited parts of a home, which makes them the easiest place for structural decay to progress unnoticed. Persistent humidity softens wood joists, encourages mold growth, and can attract termites or carpenter ants looking for moist material to nest in. Because these framing members support the floors above, prolonged decay can eventually affect the stability of the entire structure.
A dehumidifier and proper ventilation go a long way toward keeping moisture levels in check, but it helps to physically inspect exposed framing every few months. Catching soft, discolored, or spongy wood early means the repair is often localized rather than a full structural overhaul.
- Keep basement humidity below 55 percent using a dehumidifier
- Inspect exposed joists and beams for soft spots or discoloration
- Seal foundation cracks that allow groundwater to seep in
- Ensure crawl space vents are not blocked by insulation or debris
Exterior Siding Damage and Hidden Moisture Intrusion
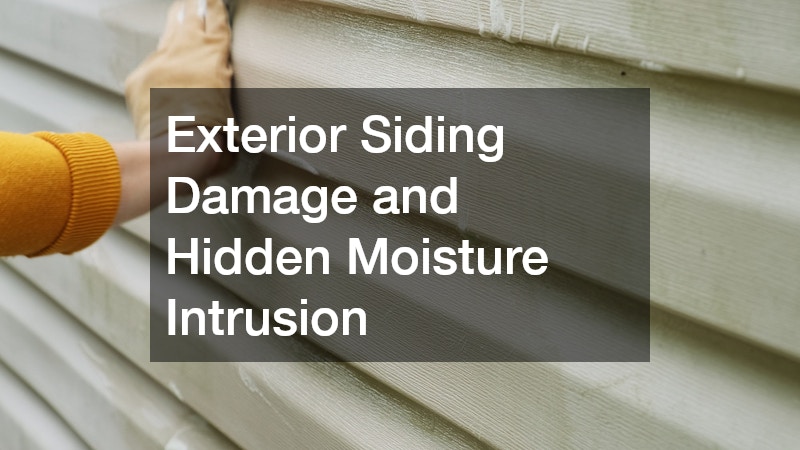
Siding acts as the first line of defense against wind, rain, and temperature swings, but damage to it often goes unnoticed until moisture has already reached the sheathing underneath. Cracked, warped, or missing siding panels create small openings that let water seep behind the exterior wall, where it can sit against wood framing for weeks without any visible sign indoors. Left alone, this kind of hidden intrusion can lead to mold growth and weakened wall structure long before a homeowner notices anything wrong.
Routine exterior upkeep, including periodic house cleaning to remove dirt, mildew, and organic growth, makes it far easier to spot small cracks or gaps while they are still simple to repair. Many homeowners find it worthwhile to compare a few house washing companies before hiring one, since experienced crews know how to identify early siding damage while they work rather than simply rinsing the surface.
- Inspect siding seams and corners for gaps after major storms
- Press gently on suspicious areas to check for soft or spongy spots
- Watch for warping, bubbling, or fading that suggests trapped moisture
- Ask any contractor you hire to flag visible damage during service
Deck and Porch Support Post Deterioration
Outdoor structures like decks and porches take a beating from constant exposure to rain, sun, and freeze-thaw cycles, yet they rarely get the same attention as a home’s interior. Support posts anchored in or near the ground are especially vulnerable, since moisture wicks upward through the wood grain and rots it from the inside out. A post that looks solid on the surface can be dangerously weak just beneath the paint or stain.
Annual inspections that include gently probing posts and railings with a screwdriver can reveal decay long before a visible collapse risk develops. Reapplying sealant every couple of years and keeping soil and mulch pulled back from wood posts also reduces the moisture exposure that drives this kind of slow deterioration.
- Test railings and posts by pushing firmly to check for wobble
- Look for discoloration or a hollow sound when tapping wood posts
- Keep gutters directing water away from deck footings
- Reseal or restain exposed wood every two to three years
Driveway and Walkway Surface Settling

Cracked or uneven concrete on driveways and walkways is often dismissed as a cosmetic nuisance, but it frequently points to soil erosion or settling happening beneath the surface. Water that pools in low spots seeps into the ground below, gradually washing away the base material that keeps concrete slabs level. Over time, this can lead to trip hazards, drainage problems near the home’s foundation, and cracks that widen with every freeze-thaw cycle.
Keeping these surfaces clean also helps you spot changes early, since built-up grime can mask hairline cracks until they grow significantly larger. Many homeowners schedule pressure washing once or twice a year specifically so they can inspect the concrete surface clearly and catch new damage before it spreads underground.
- Check for gaps forming between slabs or along the foundation edge
- Look for pooling water that lingers more than an hour after rain
- Fill small cracks promptly with concrete sealant
- Grade soil away from walkways to reduce erosion underneath
Structural problems rarely announce themselves loudly, which is exactly why they are so easy to underestimate. The homeowners who avoid costly repairs are usually the ones who inspect regularly, address small issues immediately, and bring in qualified professionals for anything beyond a surface-level fix. Take a walk around your property this weekend, check the areas outlined above, and schedule any overdue inspections before minor wear becomes a major expense.