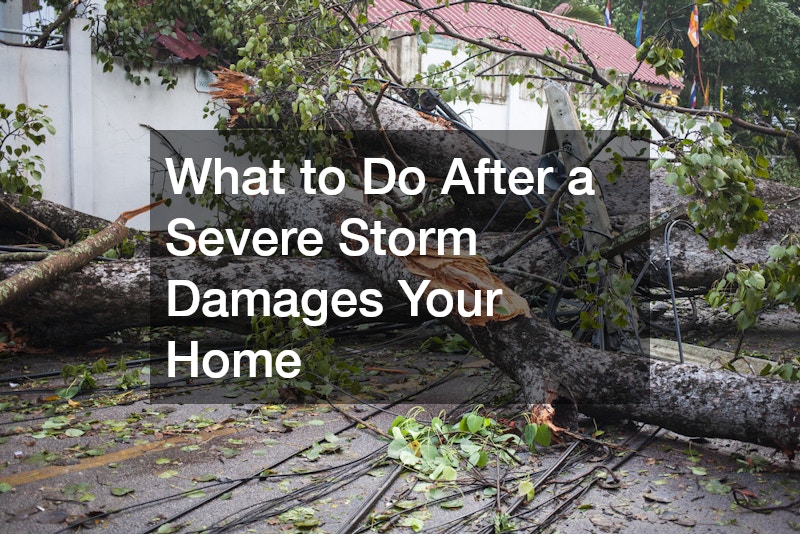
The hours after a severe storm are disorienting. Adrenaline fades, the damage becomes visible, and the decision about what to do first feels genuinely unclear. Homeowners who act without a plan often make costly mistakes — tarping the wrong areas, skipping documentation, or hiring the first contractor who shows up at the door.
What follows is a practical framework for moving through storm damage response in the right order, protecting both your home and your financial position.
Document Everything Before You Touch Anything
The instinct to start cleaning up is understandable, but documentation must come first. Insurance claims live or die on evidence, and evidence disappears fast once cleanup begins. Before moving debris, removing materials, or making any repairs, walk the entire property with your phone and photograph every point of damage from multiple angles.
This means the roof, gutters, siding, windows, foundation perimeter, outbuildings, fencing, and any vehicles or personal property affected. Time-stamp your photos if the camera app allows it — many do automatically. If a neighbor or passerby filmed the storm itself, ask for a copy. Insurance adjusters are trained to look for pre-existing wear, and the clearer your documentation, the harder it is for a claim to be partially denied on those grounds.
One practical note: write a handwritten log on the same day, recording what you observed room by room. Include any smells (gas, mold, smoke), sounds (creaking, dripping), or hazards you encountered. This log can matter if a dispute arises months later about when certain damage was first noticed.
Assess the Immediate Safety Risks
Storm damage creates hazards that aren’t always obvious. A structurally weakened wall can look intact. A downed power line near standing water is a lethal risk that may not be visible from a distance. Before re-entering the house after a major storm, do a quick exterior walk-around looking for gas meter damage, cracks in the foundation, or any structural lean in the roof line.
If you smell gas, leave immediately and call your utility provider from outside or from a neighbor’s phone. Do not use light switches or open flames. If there’s visible electrical damage — exposed wiring, a sparking panel, or stormwater near your breaker box — call an electrician before anyone sleeps in the home.
Inside, look up before you look around. Ceiling sag, especially in a room directly below a damaged roof, can indicate water accumulation heavy enough to collapse. A bulging or discolored ceiling should be treated as an immediate evacuation signal for that room, not a repair-later item.
The risk here is underestimating what’s invisible. Many homeowners focus on visible surface damage while ignoring the structural and electrical conditions that create the real danger.
Prioritize Emergency Repairs to Prevent Further Damage
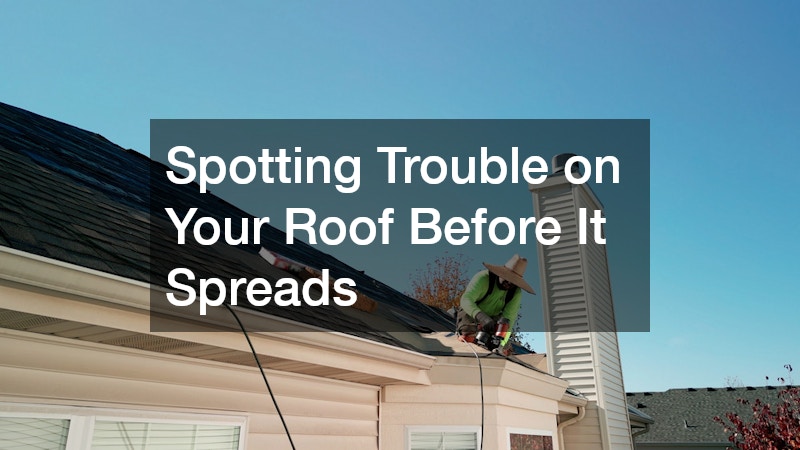
Most homeowners insurance policies include a duty-to-mitigate clause, meaning you are obligated to take reasonable steps to prevent additional damage after an initial loss. Failing to do so can result in claim reductions. This is where temporary repairs become essential — and where spending money upfront actually protects your reimbursement.
Blue poly tarps are a standard short-term solution for roof breaches. A 20×30 ft tarp typically costs between $30 and $60 at a hardware store and can cover a significant section of damaged decking. Secure it with boards and screws rather than just ropes — wind can pull a loosely fastened tarp off within hours, causing secondary damage.
For broken windows, heavy plastic sheeting and duct tape can provide a temporary seal. Board up with 3/4-inch plywood if you have it. Document these emergency repairs with photos before and after — they are reimbursable costs in most policies.
Where professional help is warranted quickly, roof repairs tend to be the most urgent because water intrusion through a damaged roof escalates from cosmetic to structural damage within 24 to 72 hours depending on rain and humidity.
Filing Your Insurance Claim the Right Way
Contact your insurer as soon as the immediate hazards are addressed — most policies require “prompt” notification, though exact timeframes vary. When you call, ask specifically: what is my deductible, what is my claims process, and will I be assigned an adjuster or should I expect a third-party inspection?
Get a claim number in writing and keep a record of every conversation, including the date, time, and the name of whoever you spoke with. If the adjuster’s assessment feels incomplete or significantly undervalues the damage, you have the right to hire a public adjuster — an independent professional who works on your behalf, typically for 10 to 15 percent of the final settlement. For large claims, that fee often pays for itself.
Here’s a decision point many homeowners mishandle: filing a small claim versus paying out of pocket. If your deductible is $2,500 and repairs will cost $3,000, filing may not be worth it. Insurers track claims frequency, and repeated small claims can trigger a non-renewal notice or rate increase. For damage under twice your deductible, a cash-pay repair is often the smarter long-term choice.
Choosing Between DIY and Professional Repairs
Not everything a storm damages requires a licensed contractor. Broken fence sections, minor siding dents, clogged gutters, and storm-scattered debris are well within the range of confident DIY repairs. A carpenter’s level, a circular saw, and basic fasteners are all most homeowners need for fence panel replacement.
But the line shifts when structural systems are involved. Any repair touching the roof deck, load-bearing walls, electrical wiring, or the HVAC system should have a licensed professional involved. The risk isn’t just safety — unpermitted or improperly executed repairs can void a future insurance claim or create disclosure problems when the home is eventually sold.
For mid-range damage where the call is genuinely unclear, the practical test is this: does the repair require penetrating the building envelope, touching a structural element, or working inside an electrical panel? If yes to any of those, get a licensed contractor. If no, assess your own skill level honestly and proceed with the right tools.
When hiring contractors after a major storm, move slowly. Post-storm contractor fraud spikes sharply after widespread weather events. Require a written, itemized estimate before signing anything, verify the contractor’s license through your state licensing board, and never pay more than 30 percent upfront.
When to Move Back In

Returning home too soon is a mistake people regret quietly. A home that looks livable may have hidden water intrusion developing into mold within 48 hours, or structural damage that isn’t yet visible. If a professional inspector or your insurer’s adjuster has not yet assessed the property, staying away until they do is reasonable and in some cases necessary.
The clearest signal you can return: all utilities are confirmed functioning and safe, no structural elements are compromised, and any immediate openings in the building envelope are temporarily sealed. If you are renting temporary housing because your home is uninhabitable, check your policy for Additional Living Expenses coverage — most standard homeowners policies include it, and it begins from the date of the loss, not the date you file.
Making the Claim Work for the Long Term
Once the dust settles and repairs are underway, the final piece of recovery is ensuring this storm becomes part of your home’s documented history — not a liability. Keep all receipts for materials, contractor invoices, and permits pulled for the work.
Update your home inventory if you don’t already have one. A simple video walkthrough of every room, narrated with descriptions of major appliances and valuables, stored in cloud backup, can compress future claims from weeks to days. Some homeowners also use this moment to reassess their coverage limits — if rebuilding costs have risen significantly, an outdated coverage ceiling could leave a gap the next time a storm hits.