
Water and wood have never been good friends. When rain, snow, humidity, or a burst gutter spends days soaking into the boards on the outside of your house, the damage starts fast and spreads quietly. By the time you notice the soft spots, peeling paint, or dark stains, the wood underneath is often in worse shape than the surface suggests.
The good news is that most water-damaged wood siding can be saved if you catch it early and work through the repair steps in the right order. You do not need to be a carpenter, and you do not need a garage full of specialty tools. You do need patience, a plan, and a basic understanding of what water actually does to wood fibers.
This beginner-friendly walkthrough breaks down exactly what happens when siding gets soaked, how to tell how bad the damage is, and how to bring tired boards back to life without spending a fortune or making the problem worse. Start at the top and work through each section at your own pace.
What Water Actually Does to Wood Siding
Wood is made of long fibers held together by natural glues. When water sits on or inside those fibers for too long, two things happen. The wood swells and warps as it absorbs moisture, and tiny organisms, mostly fungi, start to feed on the softened material. That combination is what we call rot.
The threshold for serious trouble is lower than most homeowners expect. According to Restore Advisor, wood decay becomes likely once the moisture content passes about 26% to 29%, with 20% being the long-recognized safe limit. Mold is even quicker to show up, often appearing within 24 to 48 hours of a soaking if the material does not dry out.
The speed of structural damage is what surprises people the most. Per World Metrics, water exposure can cause a 20% jump in structural weakness within just 48 hours. That is why a leaky gutter you ignored over a long weekend can cost real money by Monday.
How to Spot the Real Extent of the Damage
Surface stains and bubbling paint are the obvious clues, but the serious damage almost always hides behind them. Before you buy a single board or brush, you need to know whether you are dealing with a cosmetic issue or a structural one. Walk the entire perimeter of the house on a dry day and look closely at every seam, nail, and corner.
Here are the warning signs worth checking for:
- Soft or spongy wood that dents when you press it with a screwdriver
- Dark streaks running downward from nails, joints, or window trim
- Paint that peels off in large sheets instead of small flakes
- Visible gaps where boards have pulled away from the sheathing
- A musty smell near the siding or inside nearby walls
- Fungal growth, which can look fuzzy, powdery, or like dark spots
Using a Moisture Meter the Right Way
A basic pin-style moisture meter costs about twenty dollars and takes the guesswork out of the inspection. Push the pins into the wood in several spots, especially low on each wall where runoff collects. Readings under 15% mean the wood is in good shape. Anything from 20% to 25% is a warning zone, and readings above that mean you are already in decay territory. The Forest Products Laboratory notes that decay fungi need moisture content above the fiber saturation point, which sits around 28 to 30 percent for most wood species. A meter tells you exactly where you stand.
Drying Out Before You Repair Anything
This is the step beginners skip most often, and it is the one that ruins otherwise good repair work. If you patch, prime, or paint wet wood, you are sealing moisture inside the board. The rot keeps going under your fresh coat of paint and shows up again in a few months, worse than before.
Start by fixing whatever caused the soaking in the first place. That might mean clearing clogged gutters, extending downspouts, caulking a window frame, or redirecting a sprinkler head. Then give the siding time to breathe. Pull back any plants, mulch piles, or stored items touching the wall so air can move freely across the surface.
Depending on how saturated the wood was and the weather, drying can take anywhere from several days to a few weeks. Use your moisture meter to confirm the readings drop below 15% before moving on. In humid regions or shaded sections of the house, a box fan aimed at the wall can speed things along considerably.
When to Repair Yourself and When to Call Pro Repairs
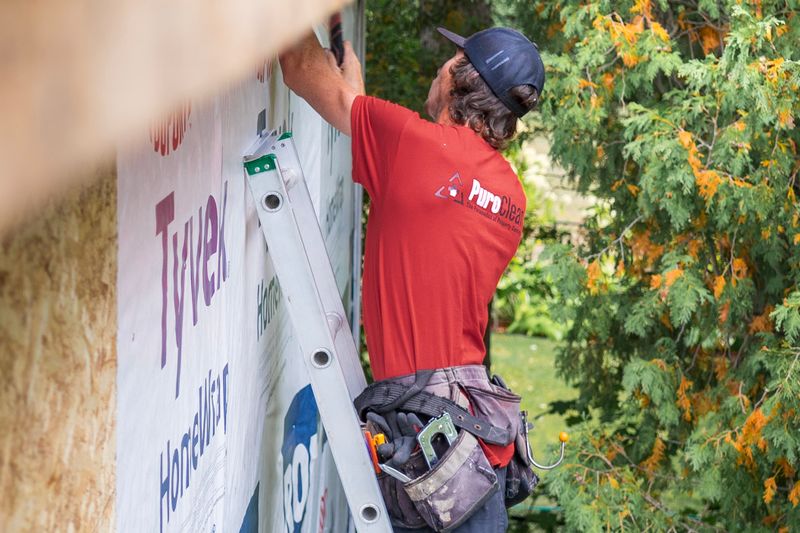
A lot of water-damaged siding falls squarely in the do-it-yourself range. Replacing a single rotted board, filling small punky spots with epoxy wood filler, or re-caulking seams are all beginner-friendly tasks. If the rot is limited to the outer face of the siding and the sheathing behind it still reads dry and solid, you can almost certainly handle the project with a circular saw, a pry bar, and a weekend.
You should bring in Pro Repairs when the damage goes deeper than the siding itself. Signs that it is time to call someone include sheathing that crumbles when poked, insulation that is wet or black with mold, framing lumber that reads above 20% on the meter, or any sign of water inside the house. Structural repairs, mold remediation, and large-scale siding replacement require experience and sometimes permits.
Budget is a factor too. According to Angi’s 2026 figures, water damage restoration typically runs between $3 and $7.50 per square foot, with the type of water exposure being the biggest driver of the final bill. Knowing that range helps you decide whether a contractor estimate is reasonable or whether the DIY route makes more sense for your specific situation.
Choosing the Right Replacement Boards
If you do end up swapping out boards, try to match the species, thickness, and profile of your existing siding. Cedar and redwood are the most forgiving choices for wet climates because of their natural rot resistance. Pine is cheaper but needs excellent priming and sealing to last. Buy a few extra boards and let them acclimate in a covered, ventilated area for at least a few days before installation so they do not shrink or swell after you nail them up.
Step-by-Step Restoration for Mild to Moderate Damage
Once the wall is dry and you know what you are working with, the actual restoration follows a predictable sequence. Rushing through any of these steps is the main reason repairs fail early, so treat the list as a checklist rather than a suggestion.
Follow this general order:
- Scrape away all loose paint, soft wood, and crumbly material down to a solid base
- Sand the surrounding area to feather the edges and roughen the surface for primer
- Treat any suspect spots with a borate-based wood preservative to kill lingering fungi
- Fill small cavities with two-part epoxy wood filler, building it up slightly proud of the surface
- Sand the cured filler flush with the original siding profile
- Prime every bare surface with a high-quality oil-based or bonding primer before painting
Caulking comes after priming, not before. Primer seals the wood so the caulk bonds to a stable surface instead of raw, thirsty fibers. Use a paintable exterior-grade siliconized caulk at every joint, nail head, and board edge where water could sneak back in. Let the caulk cure according to the label, then apply two finish coats of a quality exterior paint or stain, allowing proper dry time between coats.
Replacing a Full Board Without Damaging the Neighbors
Pulling a single damaged board without wrecking the ones above and below it takes a gentle touch. Start by slicing through the caulk lines with a utility knife so nothing tears when you lift. Slide a flat pry bar under the bottom edge of the board above and work it loose just enough to expose the nails. Cut those nails with a reciprocating saw fitted with a metal blade rather than yanking them out, which almost always splits the board you are trying to keep. Once the damaged plank drops free, inspect the house wrap behind it and patch any tears with seam tape before sliding the replacement into place.
Protecting Your Work So It Lasts
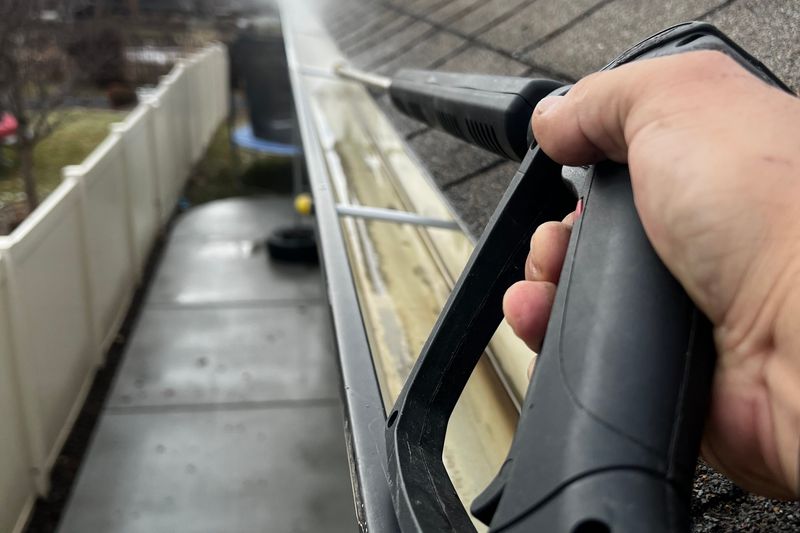
Restoration is only half the job. The reason water damage tends to come back is that the original conditions that caused it were never fully addressed. Once your boards are patched, primed, and painted, spend an afternoon making sure the rest of the house is set up to shed water instead of holding it.
Pay attention to these long-term protective measures:
- Keep gutters clean and make sure downspouts carry water at least four feet away from the foundation
- Trim back shrubs and tree branches so they sit at least a foot off the siding
- Re-caulk window and door trim every two to three years before gaps form
- Inspect flashing above windows, doors, and roof intersections for lifted edges
- Touch up paint chips and scratches as soon as you notice them, not next season
Learning how to maintain wood siding across all four seasons is the single best thing you can do to protect the time and money you just poured into restoration. A quick walk-around every few months catches small problems while they are still cheap to fix, and it keeps you from ever needing another full restoration project.
Seasonal Habits That Prevent Repeat Damage
Spring and fall are the two moments when siding needs the most attention. In spring, wash off winter grime with a soft brush and garden hose, then look for cracked caulk or lifted boards that freeze-thaw cycles may have opened up. In fall, clear gutters before leaves pile up and check that nothing is leaning against the house for the winter. These short routines are the backbone of seasonal wood siding care and take less than an hour per visit once you have a rhythm.
Common Mistakes That Undo Good Restoration Work
Even careful homeowners run into the same handful of pitfalls. Being aware of them ahead of time saves hours of rework later on. Most failed restorations trace back to one of these shortcuts rather than any lack of skill.
Watch out for the following missteps:
- Painting over wood that still reads above 15% on the moisture meter
- Using latex caulk on raw wood instead of priming first
- Filling deep rot pockets with filler instead of replacing the board
- Skipping the borate treatment and sealing live fungi under fresh paint
- Butting new boards tight against old ones with no room for expansion
- Nailing through the overlap of the board below, which pins it and causes splitting
Each of these shortcuts might save fifteen minutes on the day of the repair, but every one of them shows up again within a year or two. Doing it right the first time is almost always cheaper than doing it twice.
Conclusion
Severe water exposure looks intimidating when you first notice soft boards or peeling paint, but the recovery path is surprisingly straightforward once you break it into stages. Find the water source and stop it, let the wood dry until a meter confirms it, cut out what cannot be saved, treat and fill what can, then seal everything back up with primer, caulk, and paint in that order. Homeowners who follow that sequence consistently end up with siding that looks and performs like new, often for a fraction of what a full replacement would cost.
The hidden lesson in any restoration project is that wood siding rewards attention. The boards on your house are not a one-time install that quietly ages in the background. They are a living barrier between your home and the weather, and they respond to regular care with decades of service. A free afternoon spent inspecting, cleaning, and touching up is worth far more than an expensive weekend of emergency repairs later.
Take your time, trust your moisture meter, and do not be afraid to call in help when the damage runs deeper than the surface. With the right pace and a little patience, even badly soaked siding can come back strong, and the skills you build on this project will keep paying off every season you own the house.